Introduction

Welcome to the Module Library! The module library is a collection of documentation, processes, and refined HubSpot modules that allows BetterUp's marketing efforts to scale.

Using the module library, marketers & non-marketers with digital needs can create pages on their own, without relying on a solo developer or limited created resources. Additionally, design freelancers may use the module library to compose pages from existing modules.

Process

To create a page with the module library, you'll need access to HubSpot. Depending on your page, you'll also need to coordinate with other teams within BetterUp.

To learn more about the internal processes that enable the module library's success, click below.

Definitions

  • Page Editor
    Page Editor

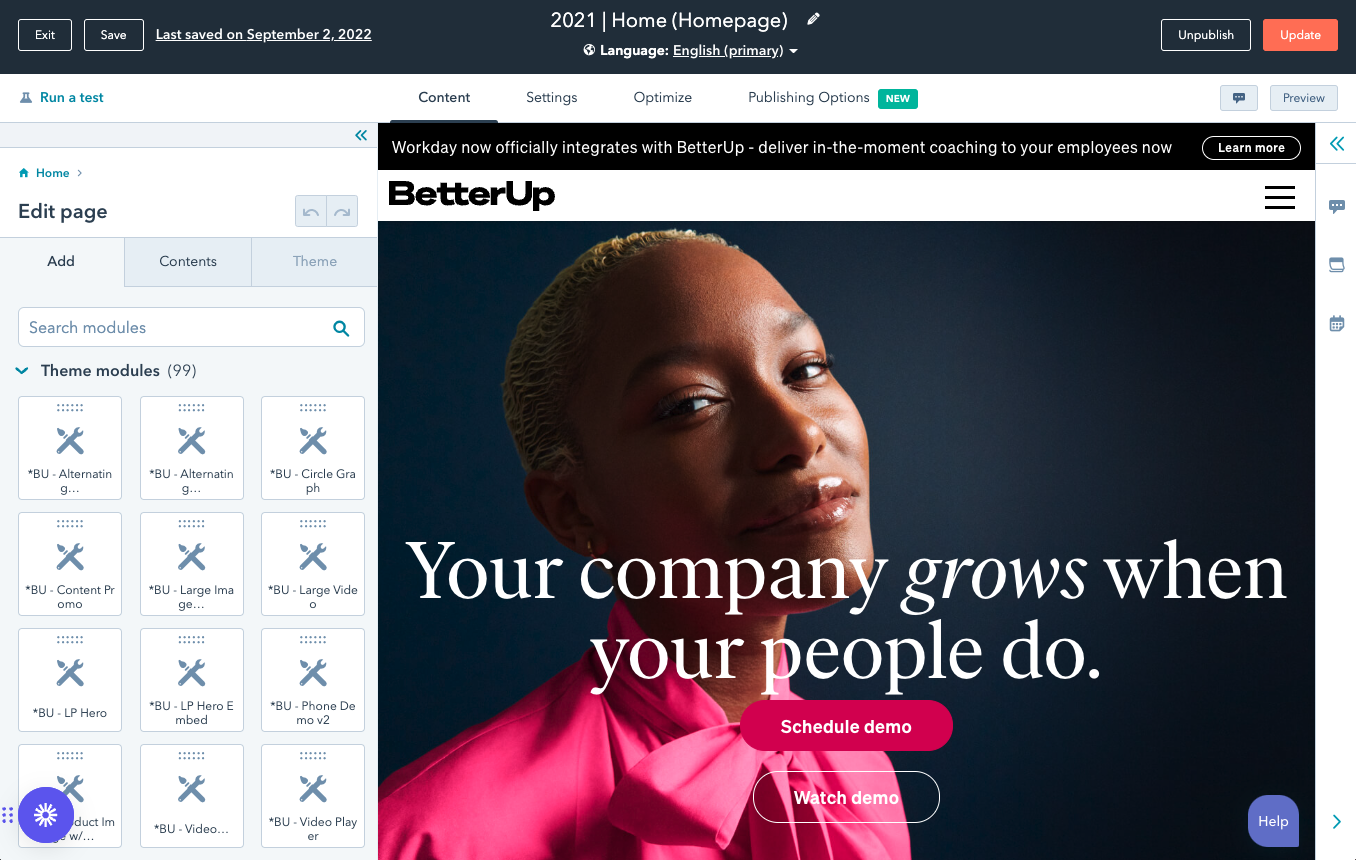
    The Page Editor is where changes can be made to a piece of content within HubSpot.

  • Template
    Template

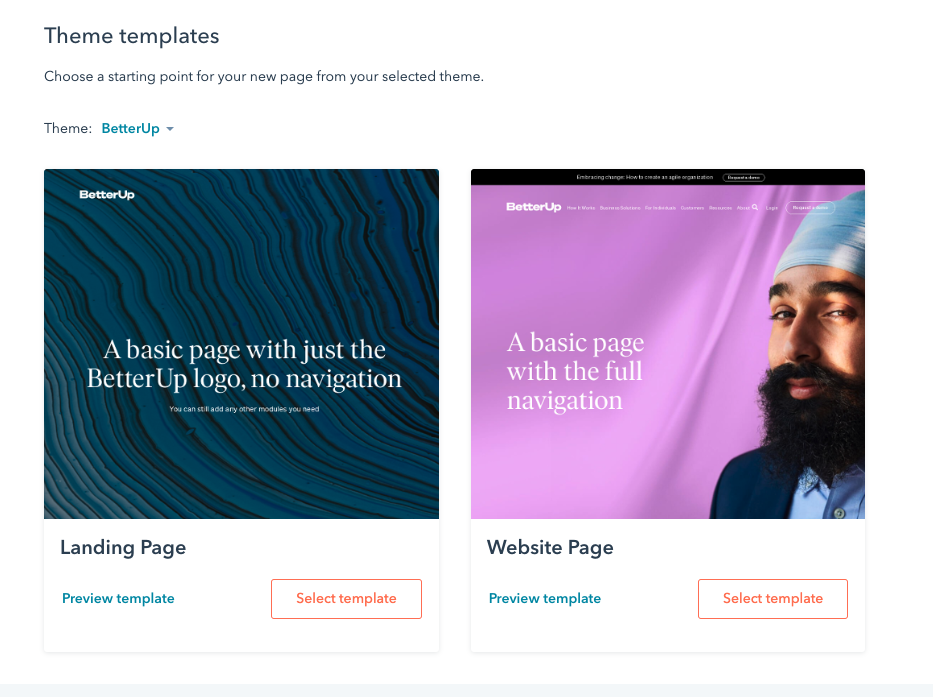
    A template is a container for modules - it's the basic building block of a page. Some templates allow you to add and remove modules, while some are locked into certain modules. Templates that are locked-in to specific modules are only used for specialty projects, such as a research report.

    Because the Module Library is intended to be flexible, there are no locked-in templates. To learn more about templates, see Select a template.

  • module
    Module

    A module is a horizontal block of content. All of our HubSpot pages are composed of modules.

  • Add Sidebar
    Module Sidebar - "Add"

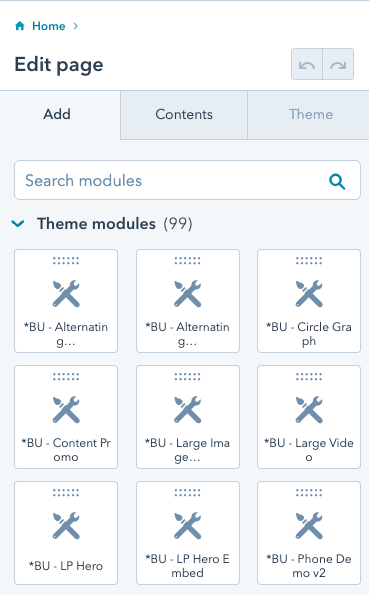
    This section of the page editor allows you to add new modules to your page in HubSpot. Use the modules listed under "Theme Modules" - you can hover over a module to read the full name.

    Note that not all pages support adding modules. If your page editor has the "Add" option grayed out, and you need to add modules to that page, please file an Asana ticket.

  • Contents Sidebar
    Module Sidebar - "Contents"

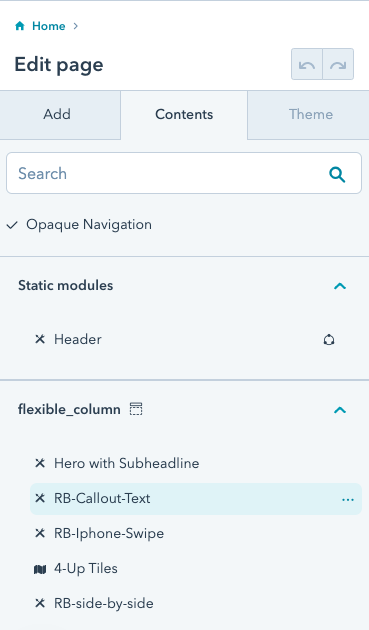
    This section of the page editor shows what modules already exist on your page. You can click a module name to edit that module.

    You'll also notice three dots next to the module name. If you click those three dots, you'll have the option to delete this module from the page. Note that not all modules can be deleted from the page.

  • Field
    Field

    Modules are composed of fields. Anything in a module that you can edit is a field. There are many types of fields, from rich text & simple text to dropdowns and checkboxes. To the left is a simple text field.

Select a template

When creating a page from scratch, the first step is selecting a template. There are two templates in the BetterUp theme.

  • Website Page - use this template if you need the full header navigation on your page.
    • There's a module on this page - "Navigation Options" - that will allow you to swap to an opaque navigation if necessary.
  • Landing Page - use this template if you only need the abbreviated header navigation on your page (i.e. just the BetterUp logo).

See above for more on Templates.

Basic Editing

As outlined above, pages are composed of modules, and modules are composed of fields. Editing a page consists of four simple steps:

  1. Access the page editor
  2. Click the module you'd like to edit, or add a module to the page
  3. Make changes on the left in the Contents Sidebar
  4. Click "Apply Changes". Note that "Apply changes" may not appear for every module - don't worry, HubSpot saves your changes on its own.


To access the page editor of an existing page, click the black & white sprocket button in the top right, and then "Edit page".

Quick Sprocket Menu

If this button doesn't appear for you, you might not be logged into HubSpot, or you may not have access to edit that page.


To add a module to your page, click and drag it from the "Add" Sidebar.

Add a module

You can reorder modules in the "Contents" sidebar by clicking & dragging them.


To edit a module, you can click it in the page editor, or click it in the module sidebar. This will open up the fields of the module, where you can make changes.

Note that some fields may be collapsed into groups. If you can't find an option in the module, please check the collapsed groups. Below are two collapsed field groups.

Collapsed field groups

If you click on a collapsed group, it will open and reveal the fields. To collapse the group again, click the title or the caret.


It's important to remember that editing a page and publishing a page are two different steps.

When you've made changes to a page, they're saved in HubSpot, and you can preview them by clicking "Preview" in the upper right, and then "Open in new window". This preview can be shared internally with other HubSpot users. However, until your changes are published, your changes will not be visible on the live page, only in the preview.

When you're ready to publish your page, follow the process below to submit it for publishing.

Tips & Tricks

  • If a part of a module - content, a heading, a CTA - is appearing when you don't want it to, make sure all the fields that control it are empty.
  • If you're struggling to find where to edit part of a module, and there's already copy in the module, look for the copy in the module sidebar. This will usually help you find the right spot to make changes.
  • Some text fields are rich text, and some are simple text. Rich text allows you to make certain pieces of copy bold, italic, linked, or insert images. To adhere to brand guidelines, certain fields are only simple text - pages can be broken if links or images are placed in certain places, so these are restricted by being rich text.
    • To italicize a word in a simple text field, wrap it in <i> tags. This looks like <i>this</i> in the field, but will appear like this.
    • To bold a work in a simple text field, wrap it in <b> tags. This looks like <b>this</b> in the field, but will appear like this.
  • HubSpot has a robust knowledge base full of helpful information. If you're stuck, try searching here, or typing your question into Google with the word "HubSpot" included.